
Personalized CRM email campaigns with HubSpot and Salesforce Website Page Visits
In today’s digital marketing landscape, tracking and analyzing website visitor behavior is crucial for tailoring communications and nurturing leads effectively. One powerful strategy is to create targeted lists in your Customer Relationship Management (CRM) tools, like HubSpot and Salesforce, based on specific website page visits. This approach allows you to identify and engage with contacts who have shown interest in particular content, products, or services. Here’s a step-by-step guide on how to create these lists in both HubSpot and Salesforce.

Creating Lists in HubSpot
HubSpot is a comprehensive CRM platform that offers robust tools for tracking website activity and creating targeted lists. Follow these steps to set up a list of contacts who visited a specific page on your website:
Step 1: Ensure Tracking is Enabled
Before creating lists based on page visits, ensure the HubSpot tracking code is installed on your website. This code is essential for tracking visitor behavior and capturing data.
- Navigate to your HubSpot account settings.
- Go to Tracking Code under the Tracking & Analytics section.
- Install the provided tracking code on your website. If you’re using a CMS like WordPress, you might use a plugin to add this code to your site.
Step 2: Create a New List
- In your HubSpot account, navigate to Contacts and select Lists.
- Click Create list in the upper right corner.
- Choose whether you want an active list (updates in real-time) or a static list (a snapshot of contacts that meet your criteria at the time of creation).
Step 3: Set Up List Criteria
- Name your list something descriptive, like “Visited Pricing Page.”
- Click Add filter and select Page views from the drop-down menu.
- Choose Contact has visited and enter the URL of the specific page you want to track.
- Add additional filters if needed to narrow down your list further.
Step 4: Save and Use Your List
- Once your criteria are set, click Save. HubSpot will automatically populate the list with contacts who have visited the specified page.
- Use this list for targeted email campaigns, nurturing workflows, or other marketing activities.
Creating Lists in Salesforce
Salesforce is another powerful CRM platform that can be integrated with website analytics tools to track page visits. Follow these steps to create a list of contacts based on specific page visits in Salesforce:
Step 1: Integrate Website Analytics with Salesforce
To track page visits, you need to integrate Salesforce with a website analytics tool like Google Analytics or a dedicated tracking service. A popular method is using Google Analytics with Salesforce. You can use a third-party tool like Salesforce Marketing Cloud, Pardot, or custom integrations via API to sync this data.
- Set up Google Analytics to track page visits.
- Use a connector tool like Zapier, or custom API integrations, to push Google Analytics data into Salesforce.
Step 2: Set Up Custom Fields
- In Salesforce, navigate to Setup and select Object Manager.
- Choose Contacts and create custom fields to capture page visit data (e.g., Last Page Visited, Page Visit Count).
- Ensure these fields are populated with data from your analytics integration.
Step 3: Create a New Report
- Go to the Reports tab and click New Report.
- Choose the Contacts & Accounts report type.
- Add filters to include only those contacts who have visited the specific page. Use the custom fields you set up earlier for this purpose.
Step 4: Save and Utilize Your Report
- Name your report appropriately, such as “Contacts Who Visited Pricing Page,” and save it.
- Use this report to create campaigns, tasks, or other engagement activities tailored to these contacts.
Personalized CRM email campaigns
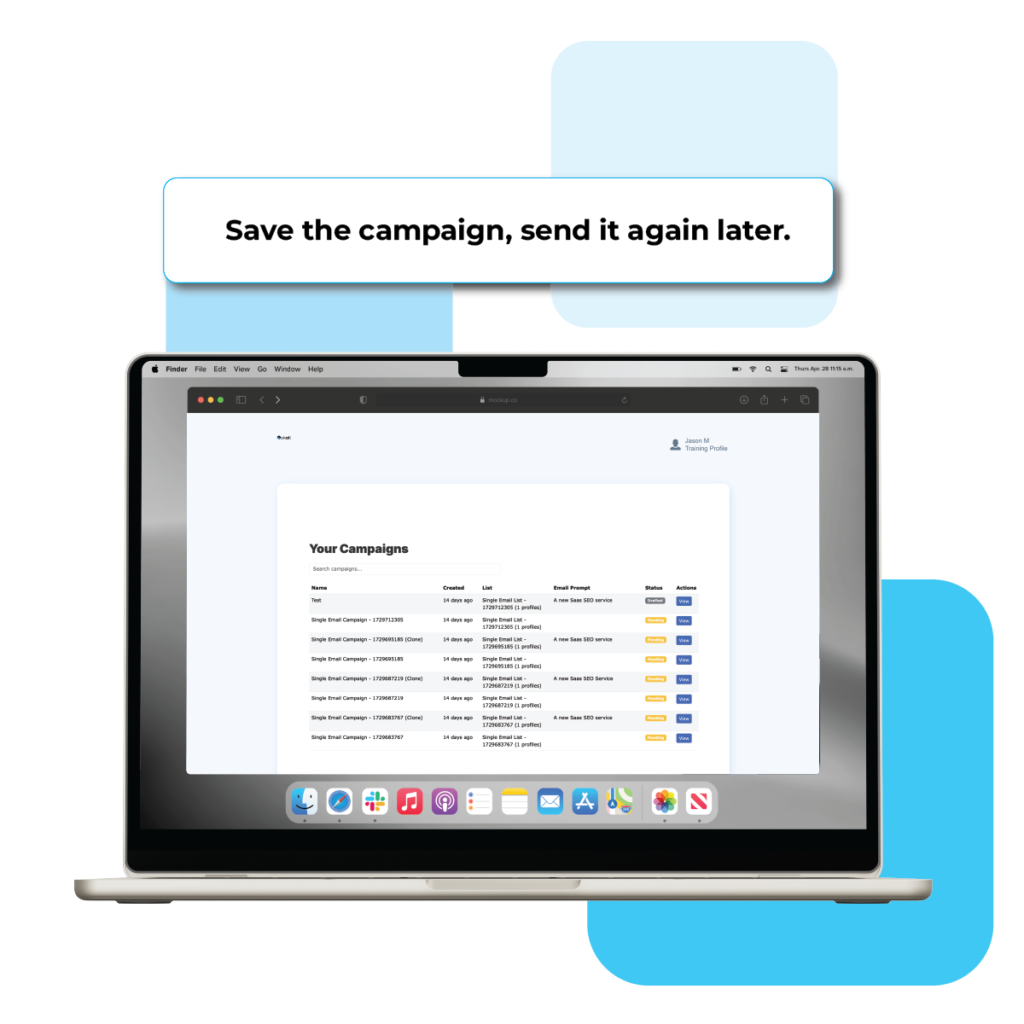
In the competitive world of digital marketing, personalizing your outreach can significantly impact your engagement and conversion rates. Tying Skail’s AI sales automation outreach with your CRM, whether it’s HubSpot, Salesforce, or another platform, makes it incredibly simple to create targeted campaigns based on specific user behaviors. This post will guide you through the process of leveraging Skail’s capabilities to create a highly effective campaign targeting contacts who have visited a particular page on your website but have not yet been contacted by your sales team.
Step-by-Step Guide to Creating a Targeted Campaign
Step 1: Select the Right List
With Skail’s seamless CRM integration, you can easily select the appropriate list for your campaign. For this example, we will create a list of contacts who have visited the pricing page of your website but have not been contacted by sales.
- Access Your CRM: Navigate to the lists section within your CRM.
- Create or Select a List: Create a new list or select an existing one that includes contacts who have visited the pricing page.
- Apply Filters: Add a filter to include only those contacts who have visited the pricing page but have no recorded sales activities.
Step 2: Create a Targeted Prompt
Once you have your list, the next step is to create a personalized and engaging prompt for your campaign. In our example, we are targeting contacts who have shown interest by visiting the pricing page but have not yet been contacted by sales. This differentiation is crucial because cold outreach differs significantly from warm outreach.
- Craft Your Message: Develop a friendly and concise message that acknowledges the contact’s visit to your pricing page.
Example Prompt:
“Thank the person for coming to our website and mentioning how we saw they looked at pricing. Be friendly and introduce yourself and let them know you are available for any questions. Be concise to the point of how Skail can help their company and specific needs for their job title.” - Save Your Prompt: Once you are satisfied with the content, save the prompt with a descriptive name like “Pageviews_PricingPage_ColdOutreach.” This naming convention helps you quickly identify and reuse the prompt for future campaigns.